[Detailed] How to Use Photoshop Export Layers As JPEG?
Are you looking to harness the power of Photoshop to export layers as JPEG images? Look no further! In this comprehensive guide, we'll walk you through the detailed process step by step.
Whether you're a seasoned Photoshop user or just getting started, you'll learn how to effortlessly export your layers as high-quality JPEG files, ensuring your designs and compositions shine in any project. Let's dive in!
Part 1. How to Use Photoshop Export Layers As JPEG Quickly?
In Photoshop, exporting layers as JPEG images is a fundamental task that allows you to save individual elements of your design or composition for use in various projects. This process is straightforward and can be completed quickly with just a few simple steps. In this section, we'll guide you through the process in detail, ensuring you can efficiently export your layers as JPEG files without any hassle.
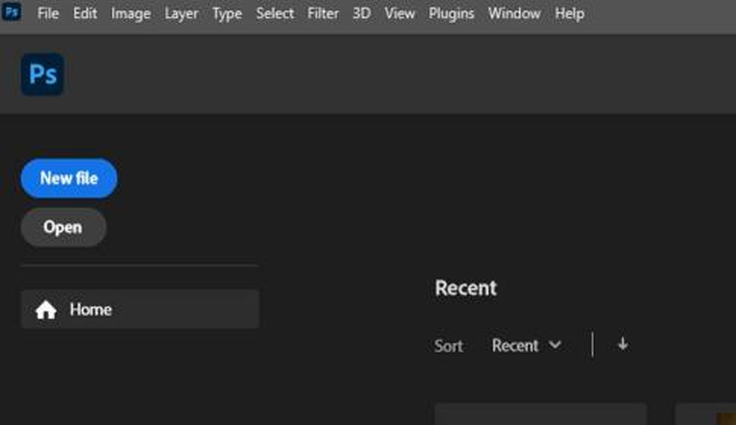
Step 1: Open Your Photoshop File
Start by opening your Photoshop file containing the layers you want to export as JPEG images. Ensure that the layers are organized and named appropriately for easy identification during the export process.
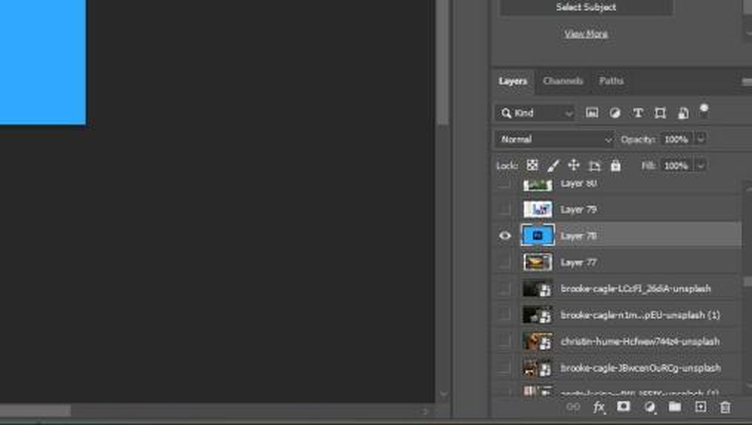
Step 2: Select the Layers to Export
In the Layers panel, select the layers you wish to export as JPEG images. You can either click on individual layers while holding down the Ctrl (Cmd) key to select multiple layers or use the Shift key to select a range of layers.
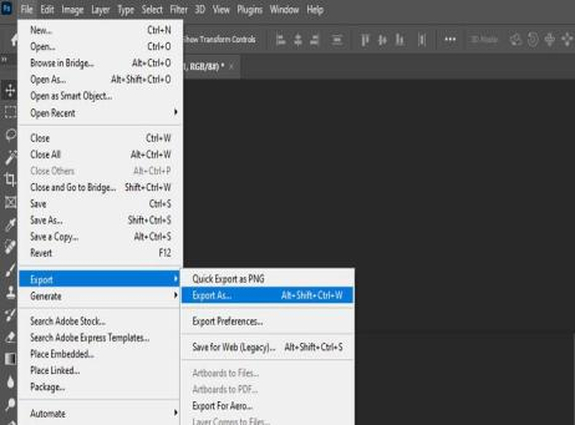
Step 3: Choose "Export As" Option
Once you've selected the desired layers, navigate to the "File" menu at the top of the Photoshop window. From the dropdown menu, select "Export" and then choose the "Layers to Files" option. This will open the "Export Layers to Files" dialog box.
Step 4: Configure Export Settings
In the "Export Layers to Files" dialog box, you can configure various settings for the export process. Choose a destination folder where you want the JPEG images to be saved. You can also specify the file format as JPEG and adjust other settings such as file naming conventions and compatibility options.
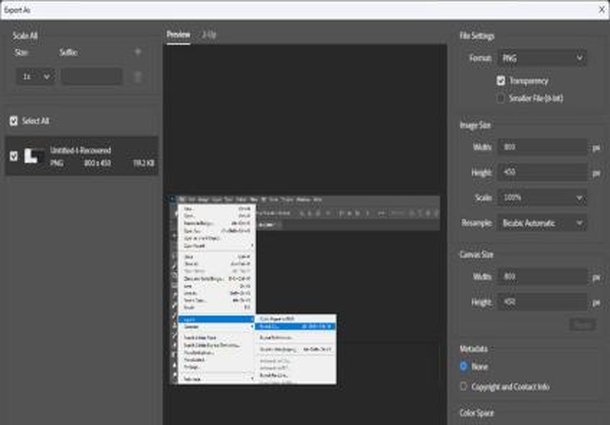
Step 5: Export Layers as JPEG
After configuring the export settings, click on the "Run" button to initiate the export process. Photoshop will then proceed to export each selected layer as a separate JPEG image and save them to the specified destination folder.
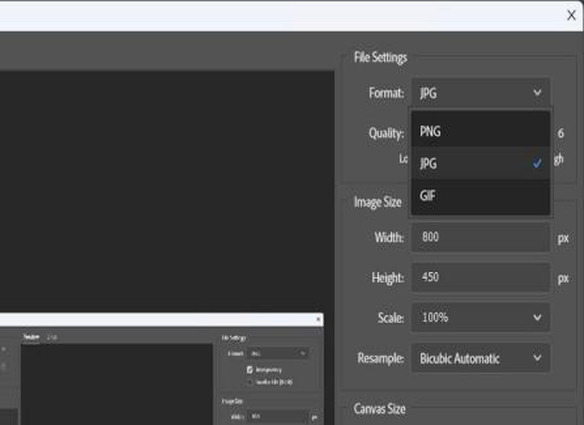
Step 6: Verify Exported JPEGs
Once the export process is complete, navigate to the destination folder to verify that the JPEG images have been exported successfully. You can open each image to ensure that it contains the intended content from the corresponding Photoshop layer.
Congratulations! You've successfully exported your Photoshop layers as JPEG images quickly and efficiently. Whether you're preparing assets for web design, digital art, or any other creative project, this process ensures that you have high-quality JPEG files ready for use. Now you can incorporate your exported images into your projects with ease, knowing that they retain the quality and integrity of your original Photoshop design.
Part 2. Extra-Tips. Batch Convert Images into JPEG with HitPaw Univd (HitPaw Video Converter)
By default, Photoshop does not have the built-in capability to export the layer in batches as a separate JPEG file. So people can turn to HitPaw Univd, which can help people finish batch processing.
Why Choose HitPaw Univd
- Compatible with different types of files by providing a wide range of audio formats such as JPEG.
- Advanced algorithms makes sure that the conversions are fast and efficient all while maintaining the quality.
- Allow users to adjust various settings such as bitrate, sample rate, and audio codec according to their liking.
- Allow users to convert more than one image to JPEG file simultaneously, saving the users their time and effort.
- Allow users of all skill levels to easily access it with the help of its intuitive design and straightforward controls.
Steps to Convert Image Files to JPEG
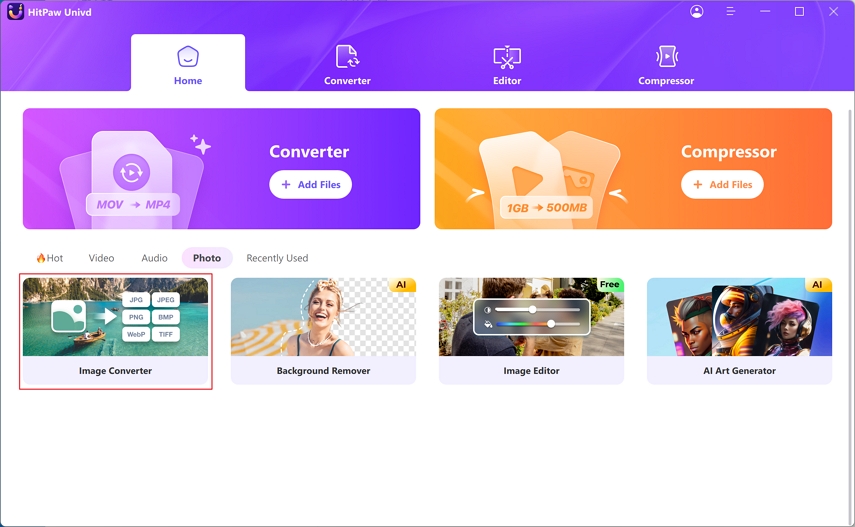
Step 1. Launch HitPaw Univd and switch to the Toolbox tab. Choose Image Converter function to import image(s).
Step 2. Click “Add image” can add more file(s). And also you can delete the one that you don’t need to convert.
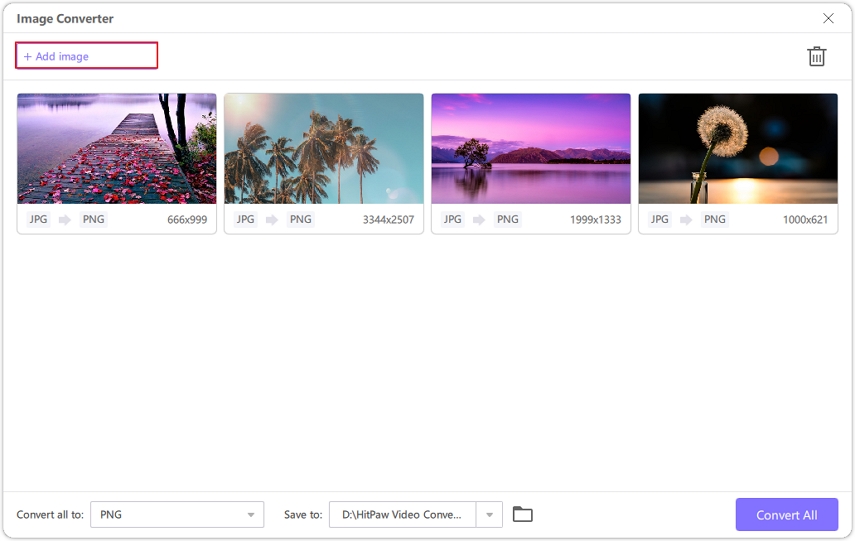
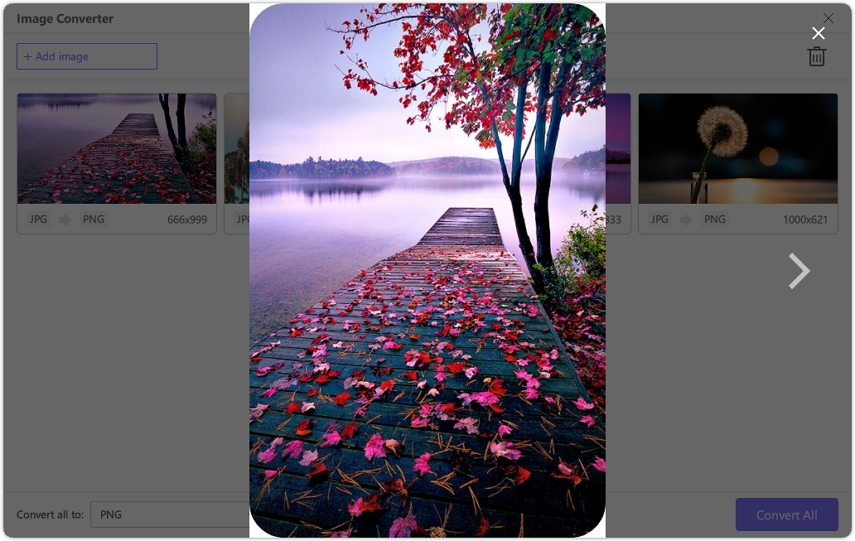
Step 3. When you point to a file, there will be a magnifying glass icon. You can preview the image by clicking the image.
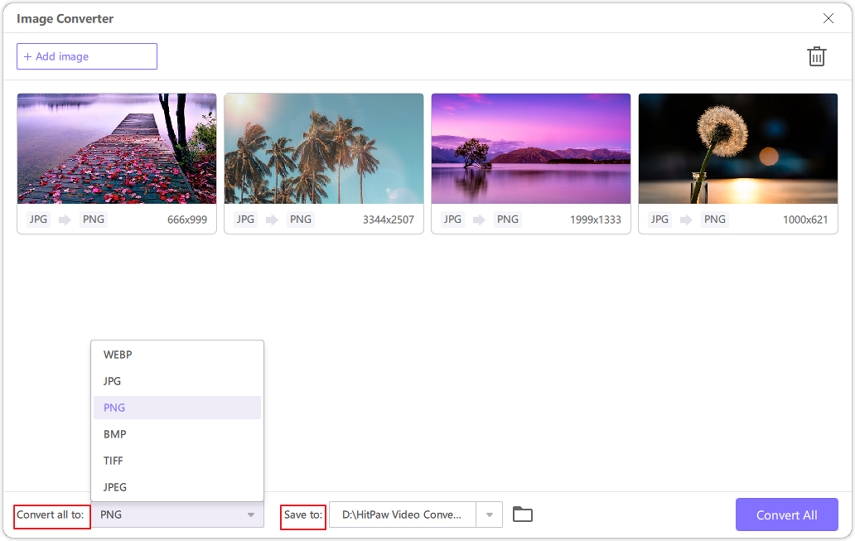
Step 4. In the “Convert all to” option, you can choose an output format for all the imported images. In the “Save to” option, you can choose an output directory for the converted images.
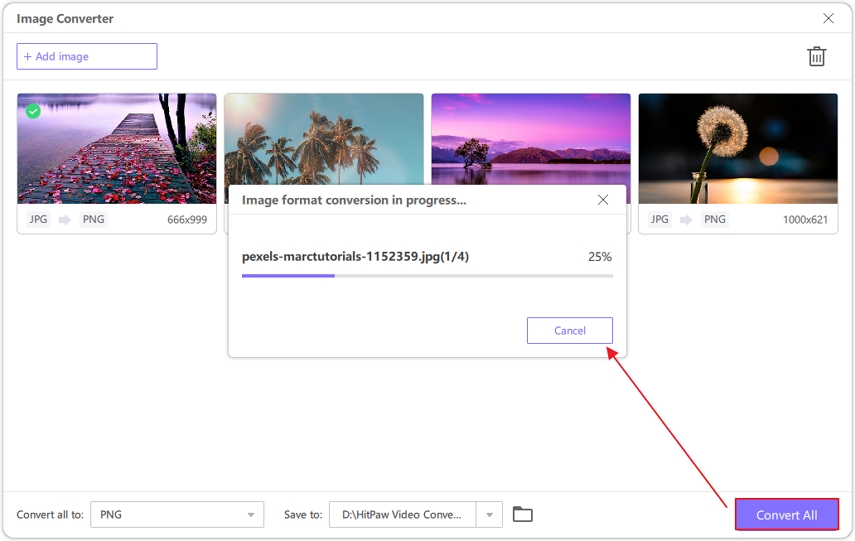
Step 5. Click the Convert All button to batch convert image to JPG or PNG in high speed.
Part 3. FAQs of Photoshop Export Layers As JPEG
Q1. Why won't my Photoshop save as a JPEG?
A1. Ensure your file is in RGB color mode, and you have sufficient disk space. Also, check if there are any restrictions due to file size or permissions.
Q2. Is Photoshop free to export layers?
A2. Photoshop requires a subscription to access its full features, including exporting layers. However, there may be trial versions or alternative methods available.
The Bottom Line
Exporting layers as JPEGs in Photoshop is a fundamental skill for any designer or digital artist. With the outlined steps and FAQs, you can quickly and efficiently export your layers for various projects. For further versatility in handling multimedia files, consider exploring HitPaw Univd, which offers intuitive features and high-quality output.


 HitPaw Edimakor
 HitPaw VikPea (Video Enhancer)

Share this article:
Select the product rating:
Joshua Hill
Editor-in-Chief
I have been working as a freelancer for more than five years. It always impresses me when I find new things and the latest knowledge. I think life is boundless but I know no bounds.
View all ArticlesLeave a Comment
Create your review for HitPaw articles