2025 Guide: How to Screen Record Apple Music
It's no secret that Apple Music has revolutionized the way we listen to music. It's easy to access, organized in an intuitive manner, and packed with tons of great songs from major labels, as well as plenty of independent artists.
But there's one big problem - all the media are protected by DRM, which means you can't exceed them when your subscription expires. That's why screen recording Apple Music is a popular option for many users who want to enjoy their music without worrying about DRM restrictions.
In this article, we'll take a look at the best ways to screen record Apple Music on all your devices. Whether you're using an iPhone, Mac, or PC, we'll have you recording great music in no time. So let's get started!
Part 1. How to Screen Record Apple Music on PC and Mac
Many screen recording tools are available on the market, but when it comes to the top of the line, none can compare to HitPaw Screen Recorder.
This powerful screen recording software allows you to record Apple Music in high quality, with no loss of sound quality or other issues. You can even record multiple audio tracks at once and combine them into a single recording.
HitPaw Screen Recorder also offers a range of features, such as real-time editing and picture-in-picture recording. It's easy to use and includes an intuitive user interface. Plus, you can even upload your recordings directly to YouTube or other social media sites like Facebook and Twitter.
How to Screen Record Apple Music on Windows and Mac
Using the HitPaw Screen Recorder is easy. All you have to do is follow the simple steps below:
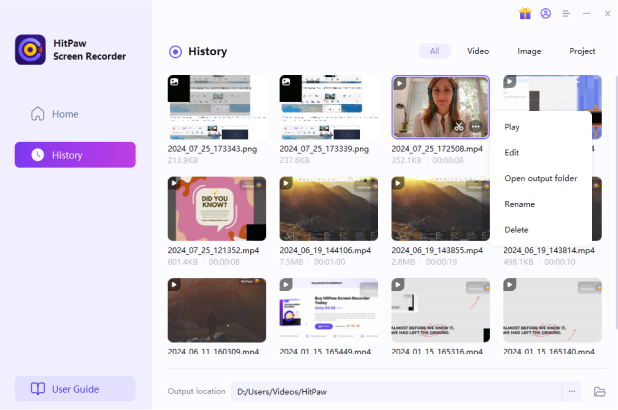
Download and install the software on your PC or Mac.
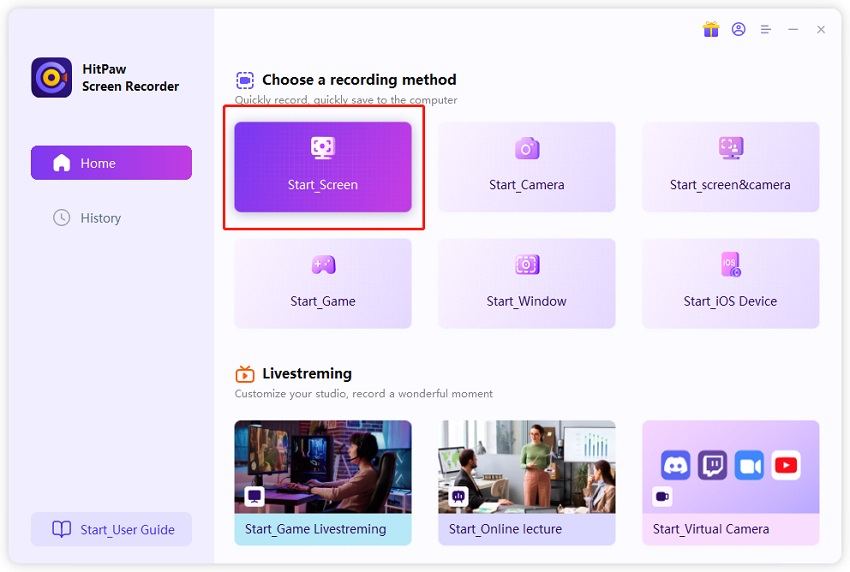
Once done, run the software and select "Screen" from the home interface.

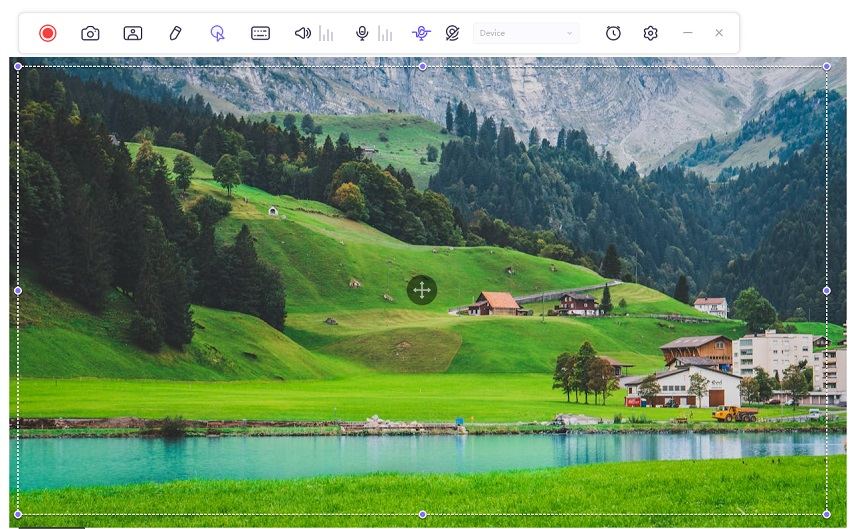
Now, choose the recording area (you can choose the full screen or a custom area).

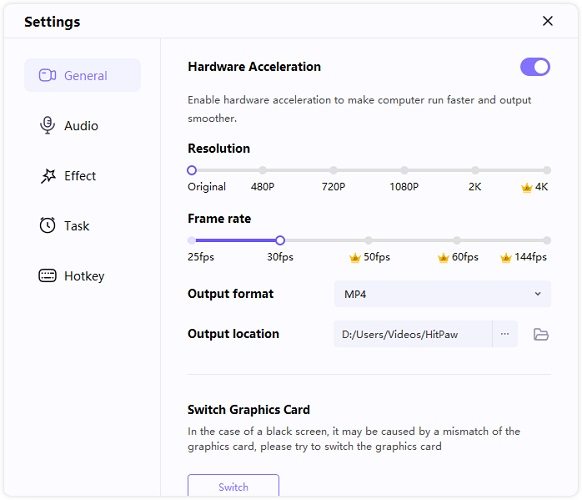
The next step is to customize the recording settings - you can choose the recording format, video quality, and audio preferences.

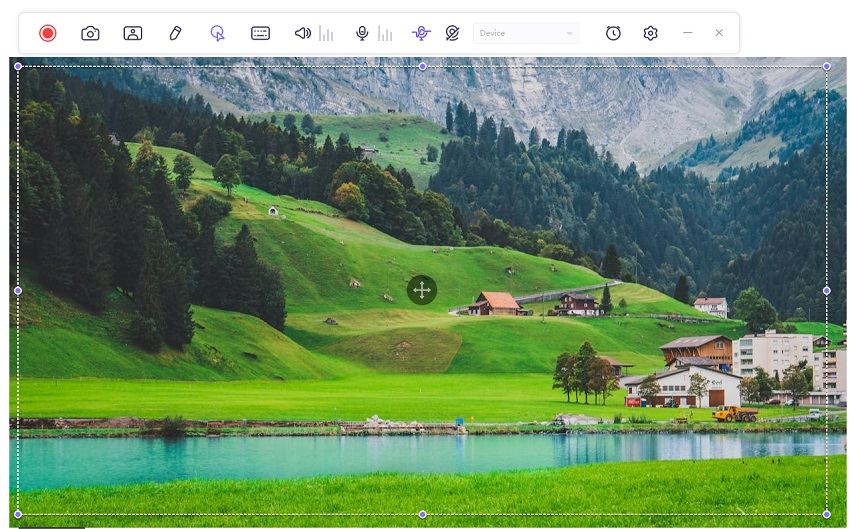
Once done, click on "Record" to start recording your Apple Music. While recording, you can also draw and highlight important points using the built-in drawing tools.

- When you're done, click "Stop" to save the recording.
Finally, you can preview the video and make any necessary edits before saving it to your computer or Mac.

And that's it! You're now ready to share your recording with family and friends or listen to your favorite Apple Music whenever you want.
Part 2. How to Screen Record Apple Music on iPhone
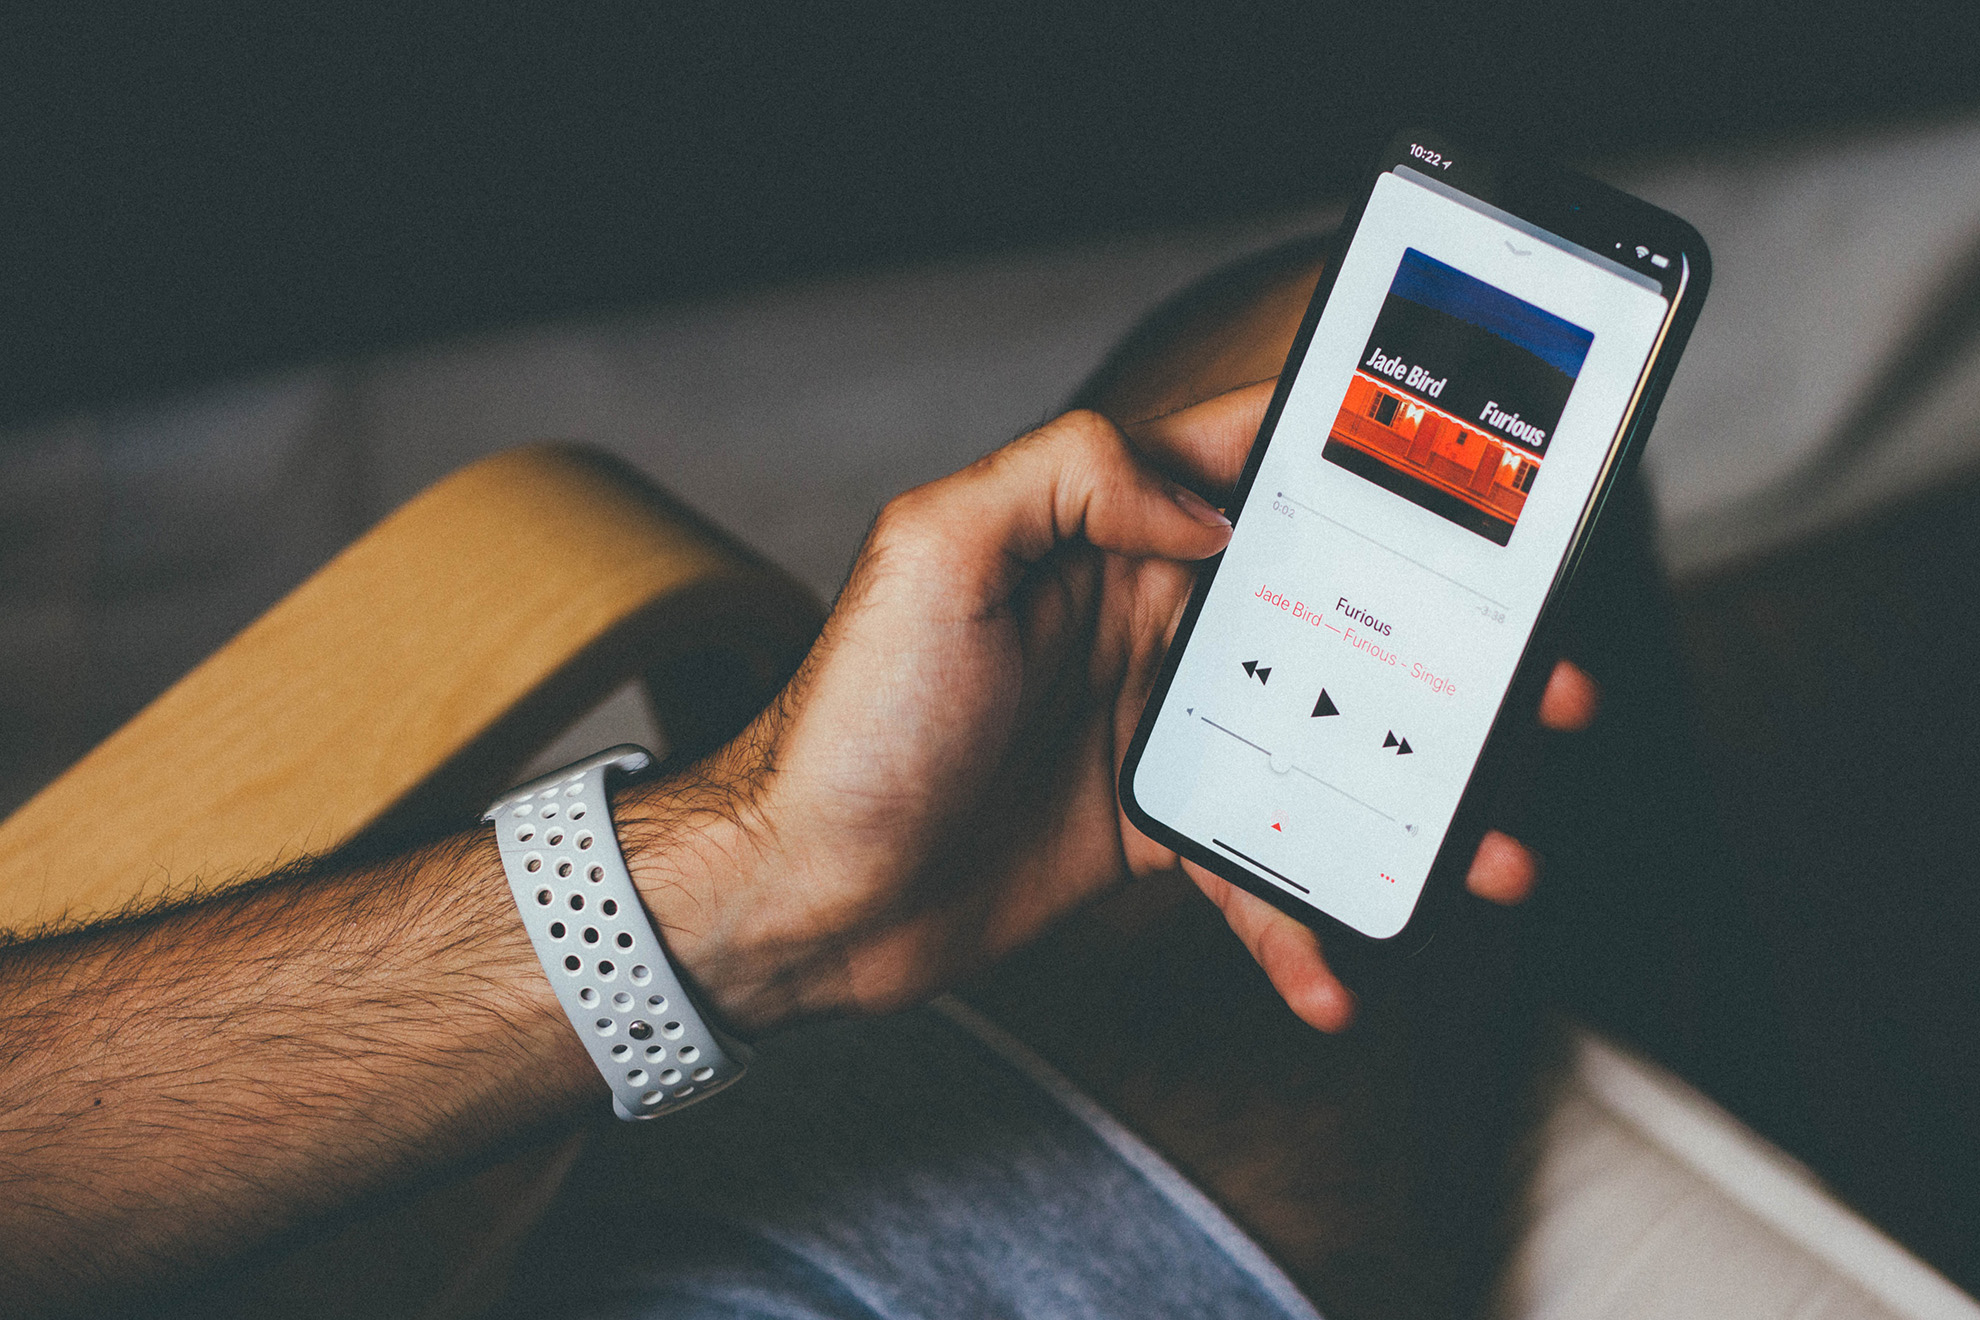
If you're an iPhone user who enjoys listening to Apple Music, you might want to share a snippet of a song or a playlist with your friends on social media. Fortunately, you can use the built-in screen recording feature on your iPhone to capture audio from the Apple Music app.
Here's how to screen record Apple Music on iPhone:
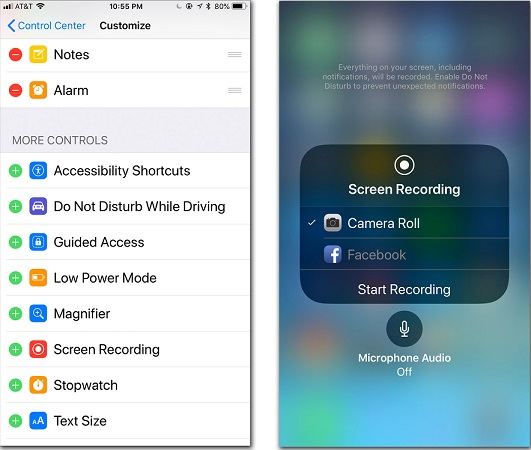
First, make sure that the screen recording feature is enabled on your iPhone. To do this, go to Settings > Control Center > Customize Controls, and add Screen Recording to the list of available controls.

- Open the Apple Music app and select the song or playlist you want to record.
- Swipe up from the bottom of your iPhone screen to access the Control Center, and tap the screen recording icon. The icon looks like a circle with a dot inside it.
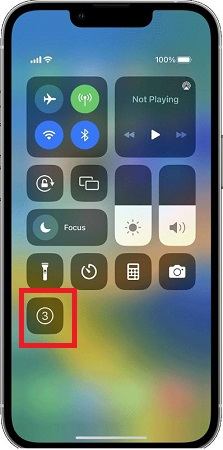
Once you start recording, you'll have a three-second countdown before the recording begins. During this time, navigate to the Apple Music app and start playing the song or playlist.

- When you've finished recording, swipe up from the bottom of your screen again to access the Control Center, and tap the screen recording icon to stop recording.
- The recording will be saved to your Camera Roll, and you can then edit or share it as desired.
By following these simple steps, you can easily screen record Apple Music on your iPhone and share your favorite tunes with your friends and followers.
Part 3. Why Can't I Screen Record Apple Music?
Have you ever tried to screen record a song from Apple Music on your phone or computer, only to find that it doesn't work? You're not alone. Many users have wondered why they can't screen-record their favorite tunes from the popular streaming platform.
The reason behind this is simple: Apple Music has implemented a security feature that prevents users from recording audio and video from the app. This is done to protect the copyright of the music and ensure that artists are properly compensated for their work.
While this may be frustrating for users who want to record a song for personal use or to share with friends, it's important to respect the rights of the artists and the platform that provides the music.
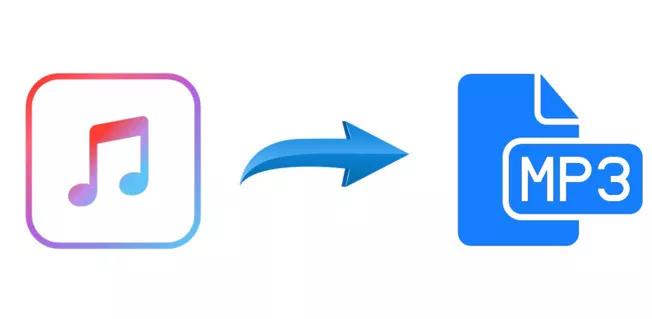
Part 4. How to Convert Apple Music to MP3 for All Devices?
Once you have recorded the Apple Music you want to listen to, you need to convert it into a format that's compatible with all devices. And that requires a top-notch Apple Music converter like HitPaw Univd (HitPaw Video Converter).
The Apple Music Converter feature in HitPaw Univd not only allows you to convert Apple Music to MP3 but also preserves the original quality and ID3 tags without any loss. You can convert audio to MP3, M4A, AAC, AC3, AIFF, AU, etc. It also boasts up to 120X faster audio conversion speed with zero quality loss.
In addition, you can batch convert Apple Music, iTunes M4P files, Podcasts, and Audiobooks. It also helps you remove DRM protection from Apple Music, iTunes Music, FairPlay, and Audible.
HitPaw Univd is a great tool for Apple Music addicts looking to share their favorite songs with friends or make sure they never run out of tunes to listen to.
So why wait? Give it a try today and convert Apple Music with ease.
How to Use HitPaw Univd for Apple Music Conversion?
Step 1. Download and install the software on your PC or Mac.
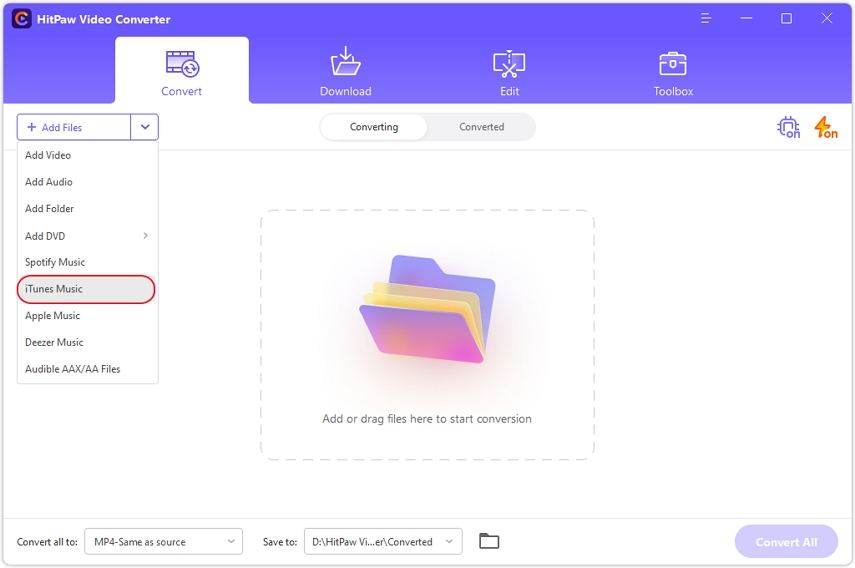
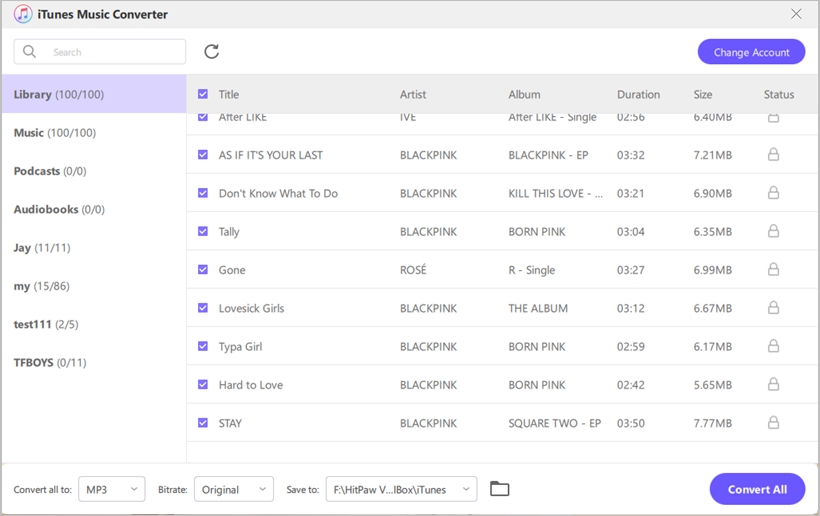
Step 2.Then, launch the software and select "iTunes Music" from the Convert tab.

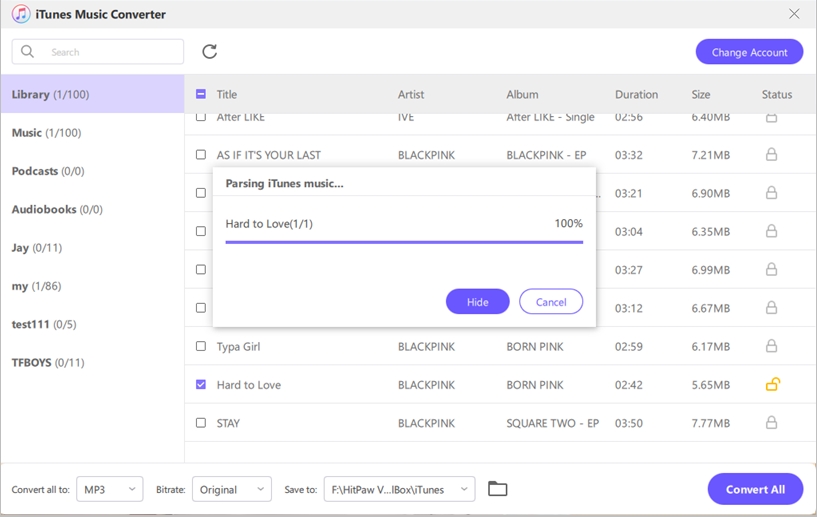
Step 3.The software will then automatically activate your iTunes account and begin to scan your music library. Make sure you are logged in with the same Apple ID you used to sign up for Apple Music.

Step 4.Once the scanning process is complete, select the songs you wish to convert and click on "confirm".

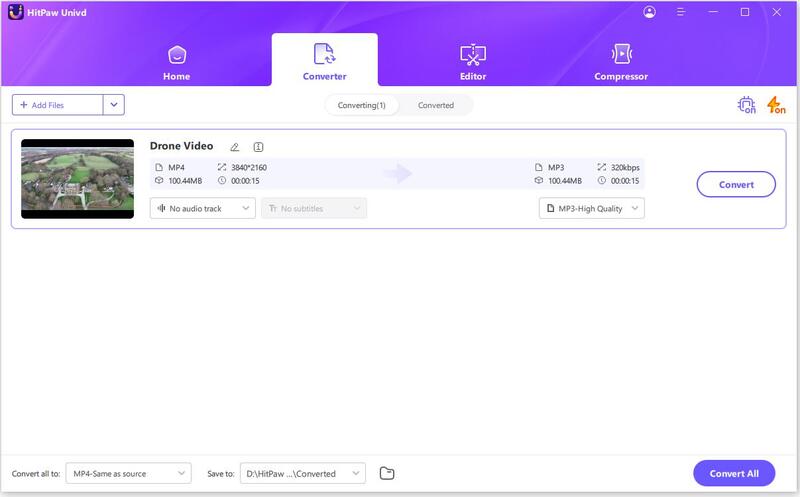
Step 5. Finally, select the output format like MP3, M4A, AAC, etc. and click on “Convert All”.

Step 6. Once the conversion is complete, you'll find your converted songs in the destination folder.
That's it! With HitPaw Univd, you can easily and quickly convert Apple Music to MP3 or other formats and enjoy your favorite tunes on any device.
The Bottom Line
Screen recording Apple Music can be a great way to share your favorite tunes with friends and followers. But due to copyright protection, it isn't always easy to do so.
Luckily, the HitPaw screen recorder and HitPaw Music Converter can make it a breeze. With just a few clicks, you can easily record Apple Music and convert it into the format of your choice.
So why wait? Try it today and start sharing your favorite songs with the world!



 HitPaw Edimakor
 HitPaw VikPea (Video Enhancer)

Share this article:
Select the product rating:
Joshua Hill
Editor-in-Chief
I have been working as a freelancer for more than five years. It always impresses me when I find new things and the latest knowledge. I think life is boundless but I know no bounds.
View all ArticlesLeave a Comment
Create your review for HitPaw articles