Catalog
HitPaw Univd (HitPaw Video Converter) also comes with built-in editing tools. You can crop/cut/merge videos, add watermarks and filters to videos, and even change video speed in a click.
Part 1: How to Cut Video
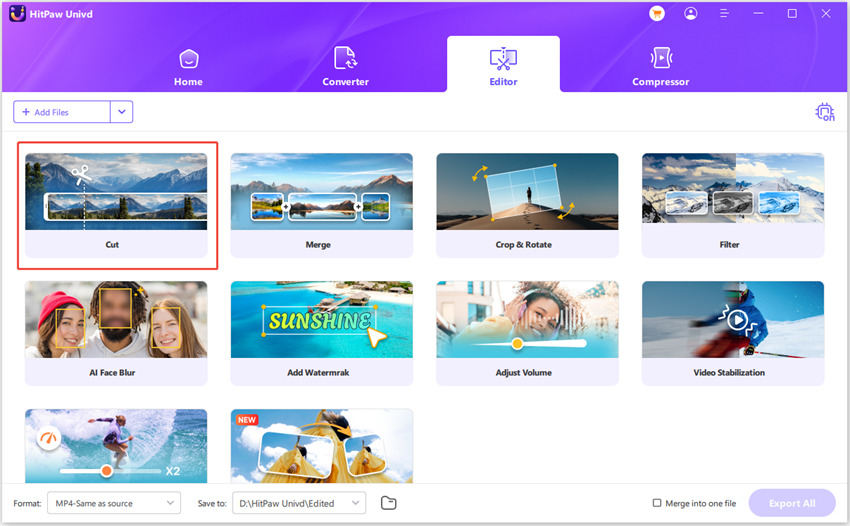
On the main interface of Edit section, choose the Cut feature and add the source video.
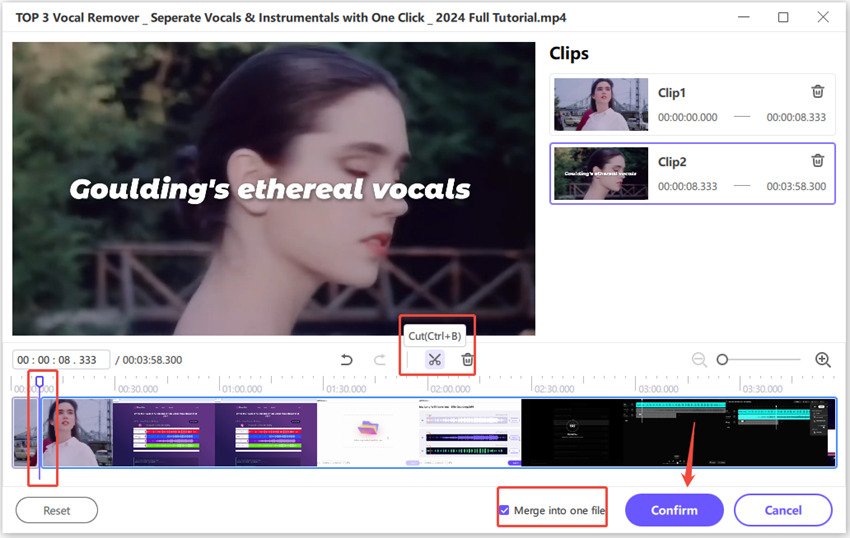
After adding the source video successfully, you can preview the video in the timeline. Drag the playhead to the time point that you’d like to cut and click the scissor icon to split the video. You can repeat the process to cut more clips.
After cut the video successfully, you can merge the cut clips into one by checking “Merge into one file”. Click the Confirm button to start exporting these clips.
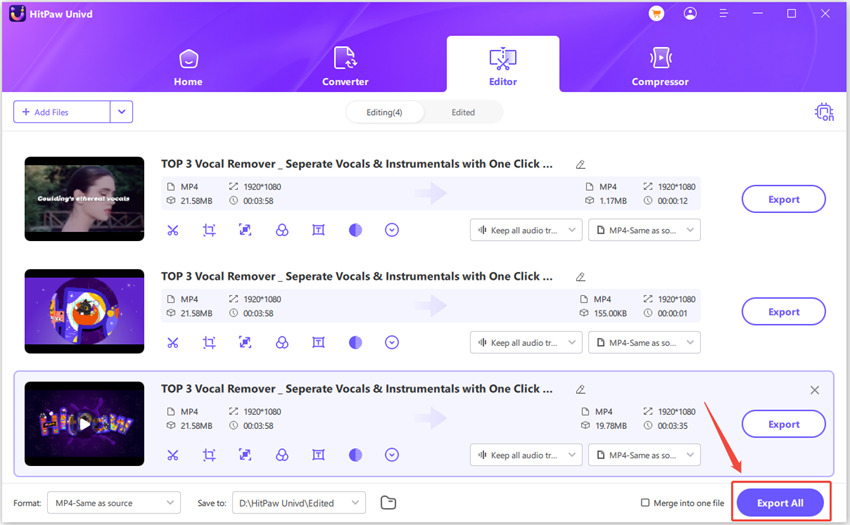
On the main interface, you can preview the cut video and choose an output format. Click the Export button to export a single file or Export All to export all files.
Part 2: How to Merge Videos Into One
On the Edit section, you can add all videos that you want to merge, and select an output format. Check the “Merge into one file” option and click the Export All button to merge all imported videos into one.
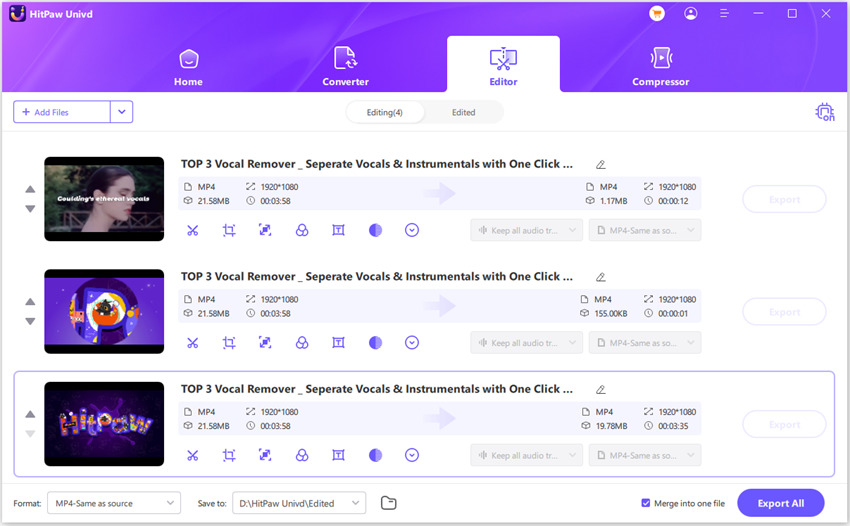
Part 3: How to Crop and Rotate a Video
In the Crop & Rotate function, you can rotate the video 90 degrees clockwise, 90 degrees counterclockwise, and rotate the video upside down.
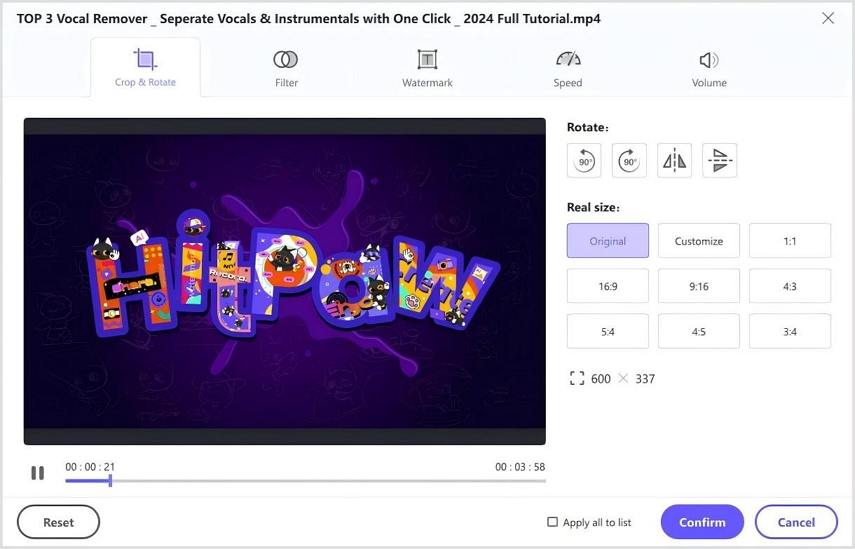
In the playback window, you can drag the four sides of the matrix to determine the frame to be cropped, or select an applicable ratio from the scale provided on the right to automatically crop the video. Click the play button to preview the cropped video.
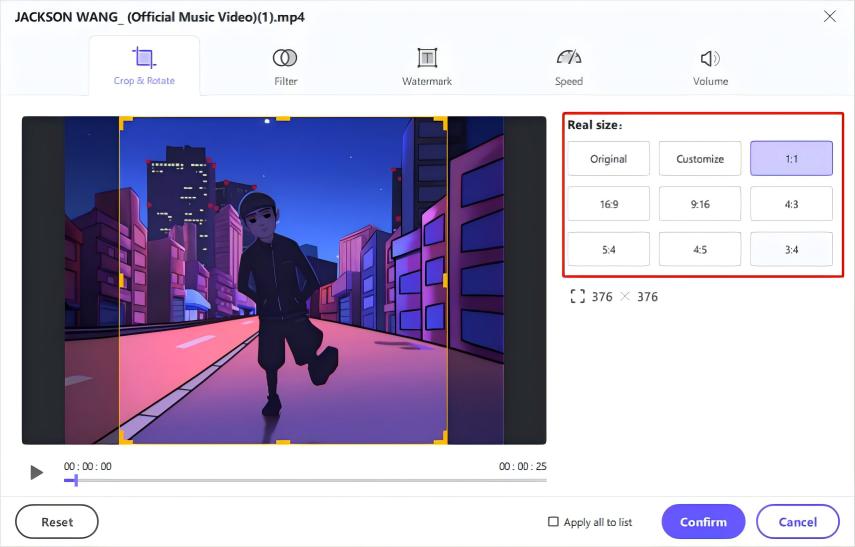
After confirming the cropped video, you can choose an output format to export.
Note: To apply the crop settings to all videos that you imported, you need to confirm that the resolution of these videos is the same. If not, you can convert them to the same resolution and then add a watermark.
Part 4: How to Add Filters to a Video
You can add filters to make your video stands out. HitPaw Univd provides dozens of preset filters that you can apply to your videos with a simple click, including black and white, daily, scenery, landscape and more.

You can fine-grained adjust the video by adjusting the brightness, contrast, saturation, shadow, sharpen, and so on.
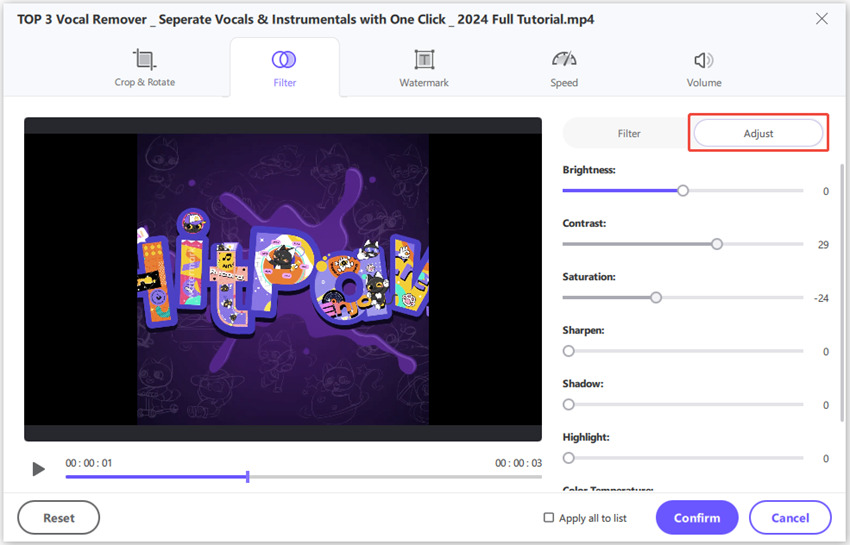
Tips: You can check “Apply all to list” option to apply the same settings to all files in the list that you imported to HitPaw Univd.
Part 5: How to Speed Up or Slow Down Video
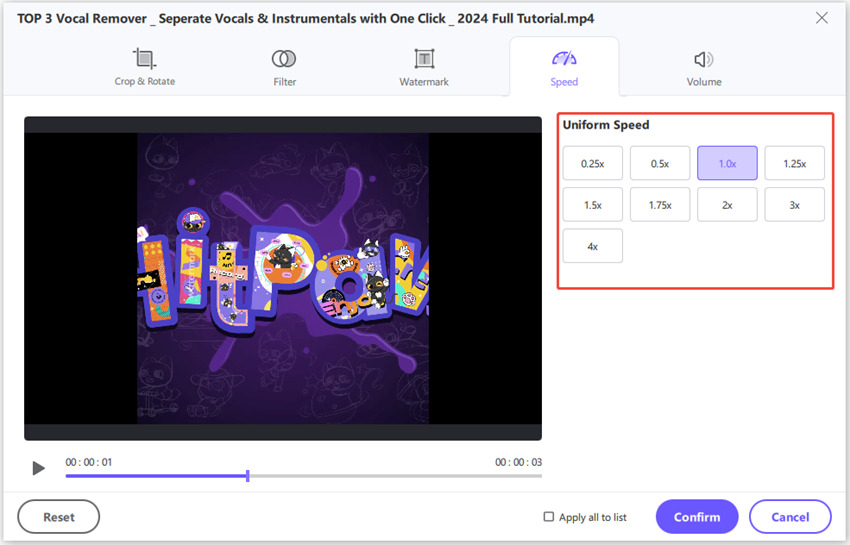
HitPaw Univd allows you to change video speed from 0.25x to 4x easily. Choose the appropriate video speed from the right panel and click it to apply. You can preview the real-time effect by clicking the play button. By checking the “Apply all to list” option, you can apply the same settings to all files in the list that you imported to HitPaw Univd.
Part 6: How to Add Watermark to Video
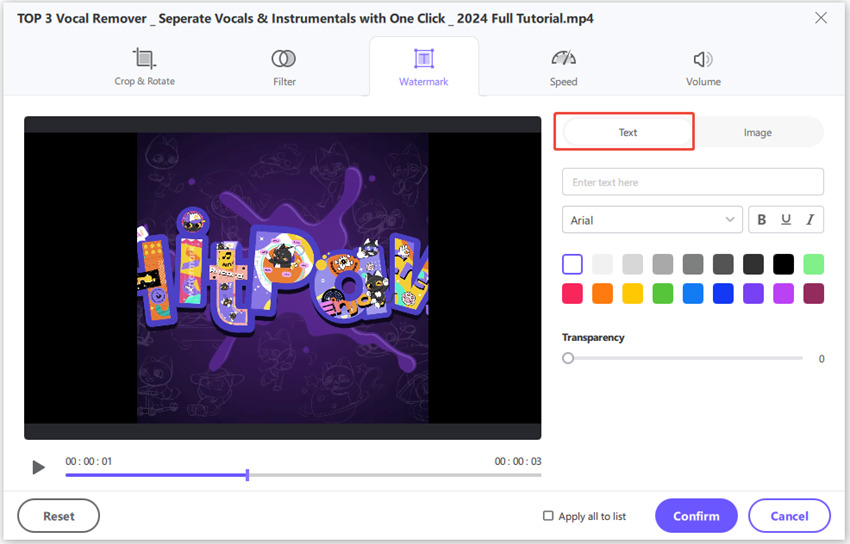
HitPaw Univd supports adding text and image watermarks to a video. You can adjust the text fonts, colors, size, transparency, and styles. Drag the texts on the playback window to the position you want.
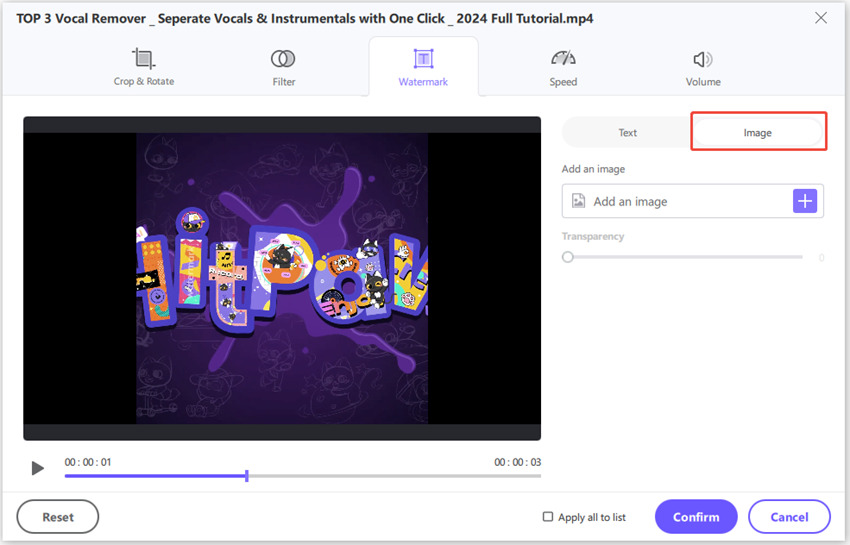
If you want to add an image watermark to the video, please click the add button to add the image and drag the image on the playback window to adjust the position. Drag the transparency to adjust the watermark transparency. To delete the watermark, you need to click on the delete button that appears on the image.
Note: To apply the watermark(s) to all videos in the list, you need to confirm that the resolution of these videos is the same. If not, you can convert them to the same resolution and then add a watermark.
Part 7: How to Stabilize Shaky Video (Windows Version Only)
HitPaw Univd supports stabilize (deshake) a shaky video footage captured with a GoPro, drone or mobile phone like iPhone.
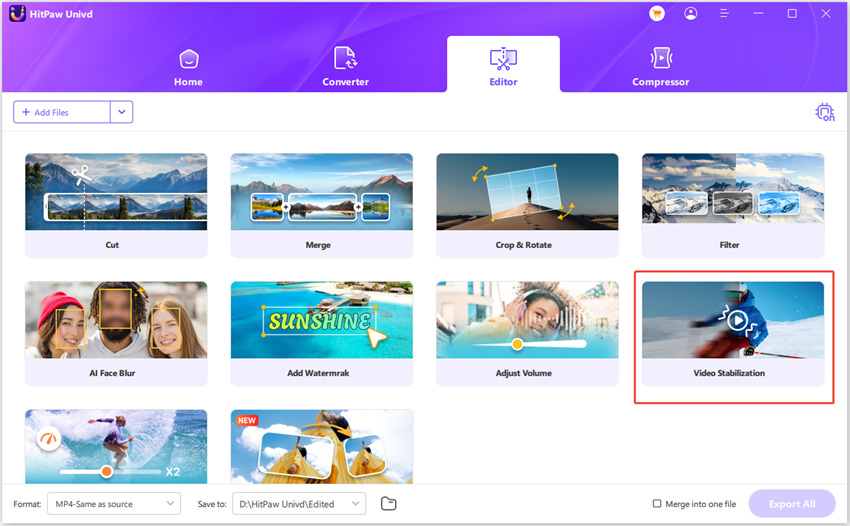
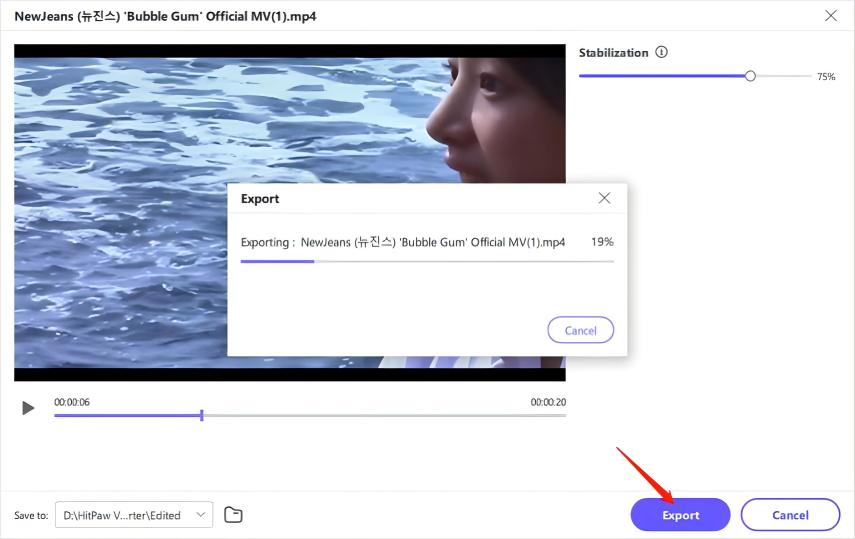
Launch HitPaw Univd and switch to the Edit tab. Choose the Video Stabilization feature from the Edit tab and import the video that you need to reduce shake. This program will automatically start analyzing and stabilizing the video with the ratio at 50%.
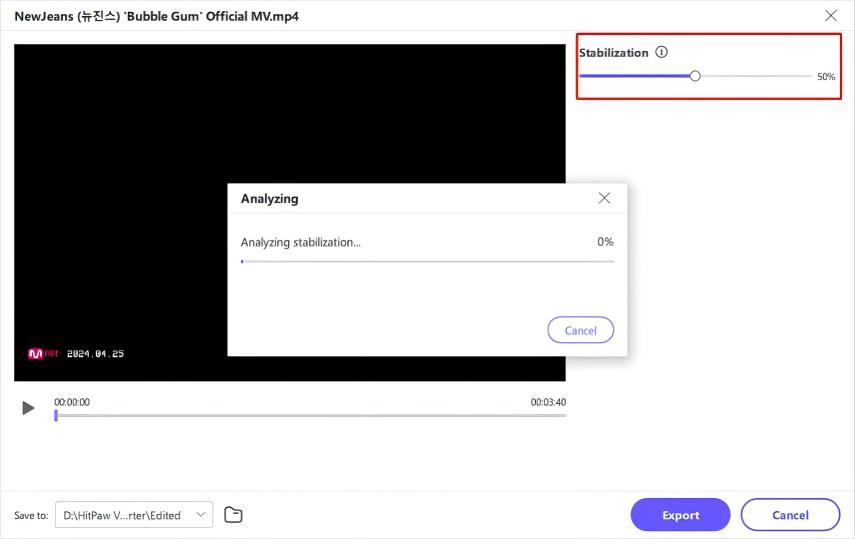
After auto stabilization, you can preview to see whether the video is smooth and motion stabilized.
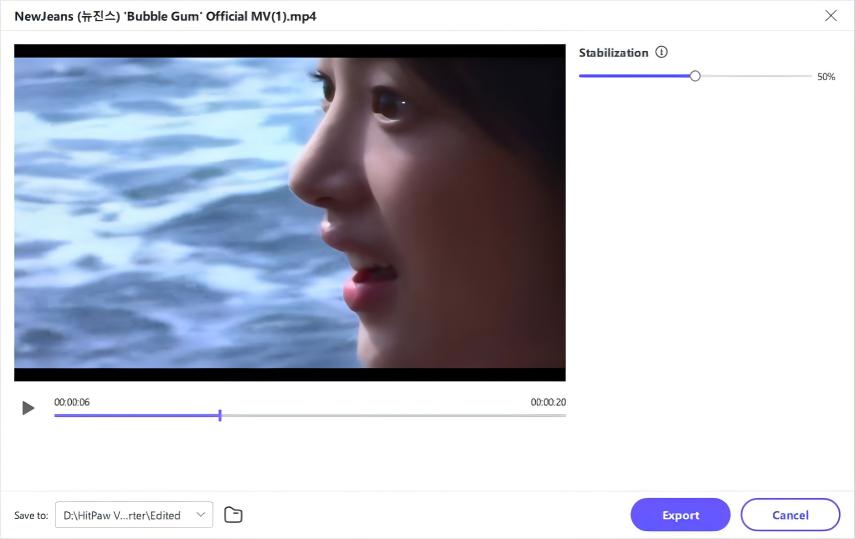
If the video still does not play smoothly, you can adjust the stabilization ratio up to 75%, for example. It is worth mentioning that the larger the ratio, the more stable the picture will be, in the meanwhile, the larger the cropping range of the screen.
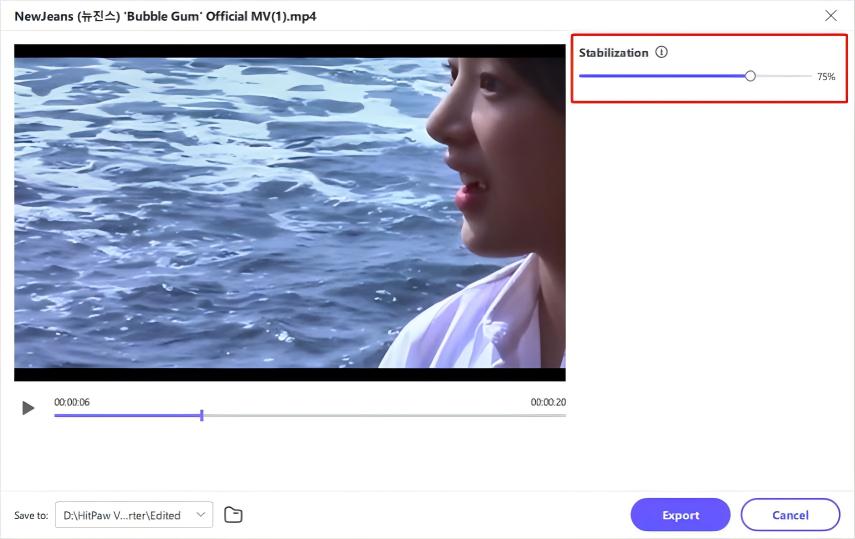
After confirming that the video shaky is solved, you can click Export button to get a stablized video.
