Catalog
This tutorial will tell how to use HitPaw Univd (HitPaw Video Converter) to convert JPG to PNG, HEIC to JPG, RAW to JPG and so forth. You can import images in different formats and batch convert them into JPG, PNG, JPEG, TIFF, BMP, HEIC, and WebP.
Step 1: Start Program and Choose Image Converter Feature
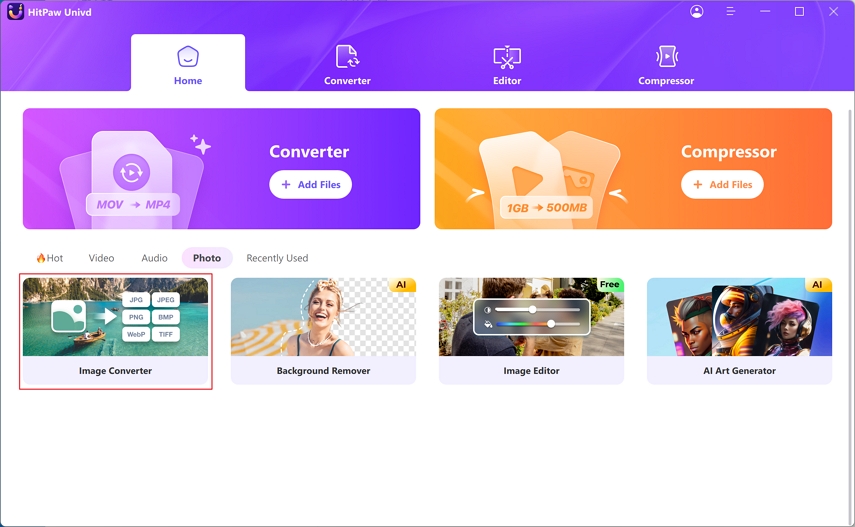
Launch HitPaw Univd and switch to the Toolbox tab. Choose Image Converter function to import image(s). You can import as many photos as you need.
Step 2: Preview Images
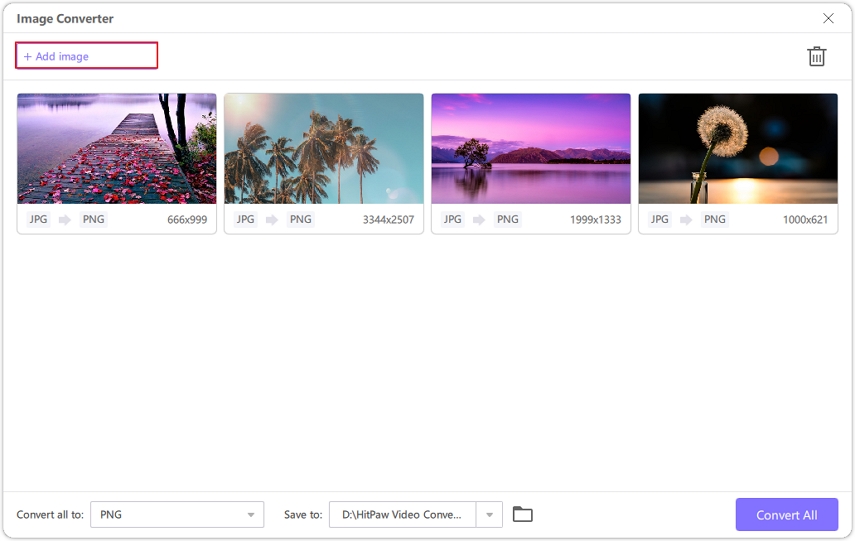
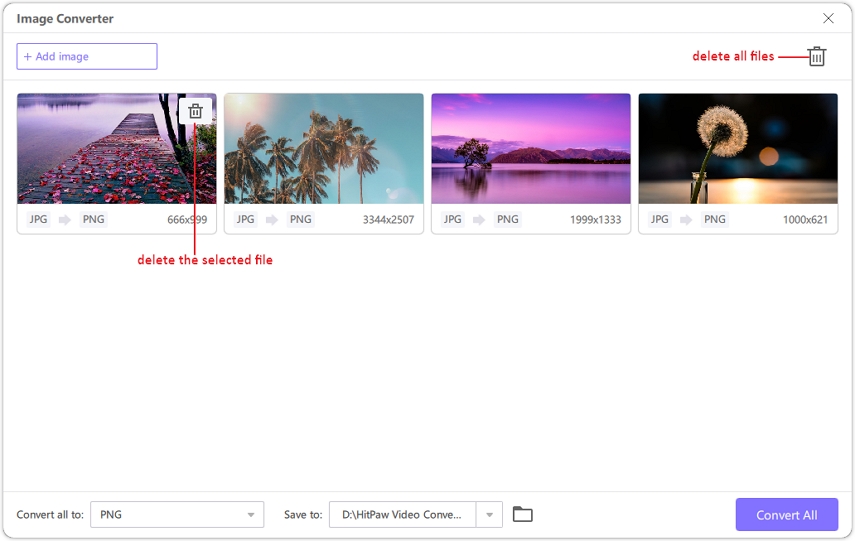
You can click “Add image” can add more file(s).
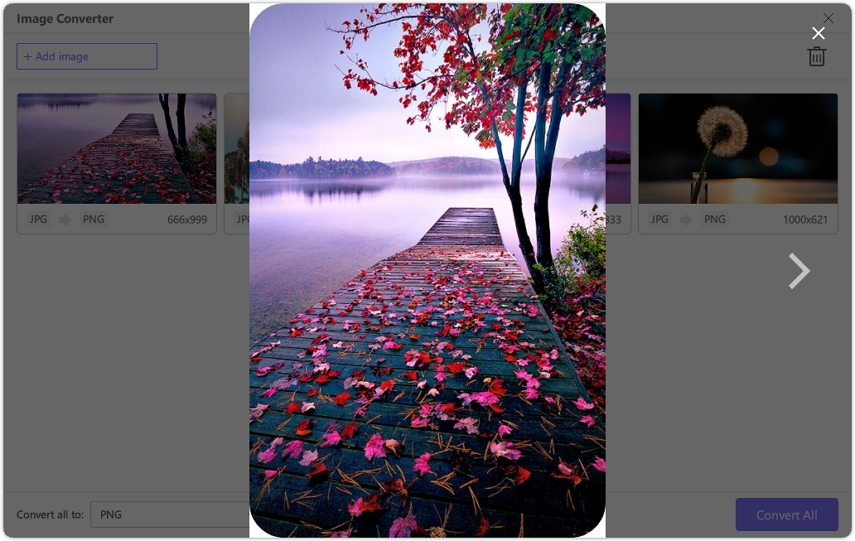
When you point to a file, there will be a magnifying glass icon. You can preview the image by clicking the image.
When you click the delete icon in the upper right corner, it will delete all imported images. When you click the delete icon on a single file, it will only delete the current file.
Step 3: Choose Output Format
In the “Convert all to” option, you can choose an output format for all the imported images. Currently HitPaw Univd supports the following output formats: JPG, WEBP, PGN, BMP, TIFF, and JPEG.
In the “Save to” option, you can choose an output directory for the converted images.

Step 4: Convert Images
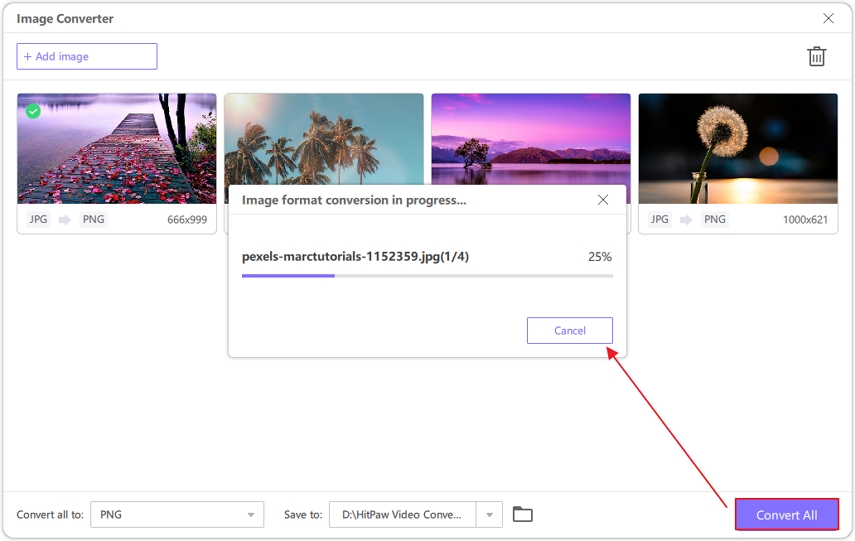
Click the Convert All button to batch convert image to JPG or PNG in high speed.
