Latest Guide on How to Process HEVC Video for Adobe Premiere Pro
The High-Efficiency Video Coding (HEVC) codec, also known as H.265, has become increasingly popular due to its ability to deliver stunning image quality at significantly lower bitrates compared to older codecs like H.264 (AVC). However, there's a catch for video editors: Adobe Premiere Pro, a leading non-linear editing (NLE) software, has limitations when it comes to working with HEVC footage directly.
This guide will address everything you need to know about processing HEVC video for seamless editing in Premiere Pro. We'll delve into the compatibility issues, explore conversion solutions, and provide a step-by-step guide to editing and exporting HEVC video after conversion.
Part 1: Can Premiere Pro CC Import HEVC Codec Video?
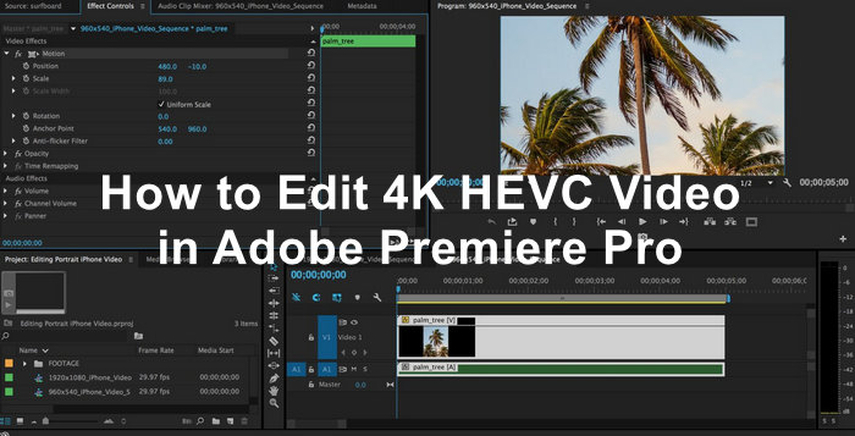
While HEVC offers numerous advantages, Premiere Pro's native support for the codec is limited. Depending on your version and operating system, you might encounter compatibility issues when trying to import HEVC video files. This can lead to error messages or even crashes within Premiere Pro.
Here's a breakdown of Premiere Pro's supported video formats:
- MOV and MP4 containers with various codecs like H.264, ProRes, DNxHR, etc.
- AVI container with specific codecs like DV, DVCPRO, etc.
- MXF container with specific codecs like D10V, AVC-Intra, etc.
If your HEVC video isn't wrapped in a compatible container format or uses an unsupported codec within the HEVC standard, Premiere Pro won't be able to recognize it.
Part 2: How to Convert HEVC Video to Premiere Pro-Supported Formats Without Quality Loss
To overcome compatibility hurdles and edit HEVC footage seamlessly in Premiere Pro, converting your HEVC video files to a supported format is necessary. Here's where HitPaw Univd (HitPaw Video Converter) comes in as a reliable and user-friendly solution.
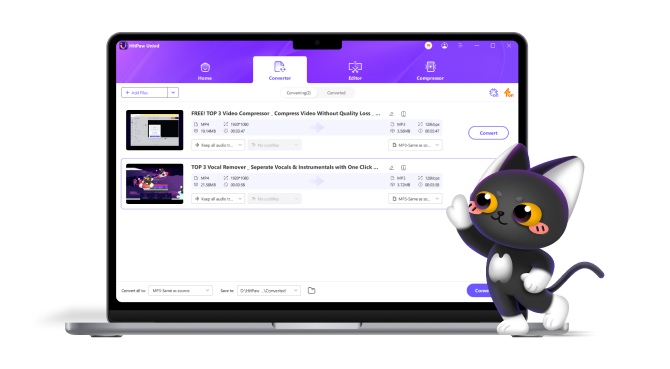
HitPaw Univd is a powerful software that goes beyond simple video conversion. It excels at handling various video and audio formats, including HEVC. With HitPaw, you can effortlessly convert your HEVC video files to formats that Premiere Pro can readily import and edit without sacrificing quality.
Key Features of HitPaw Univd:
- Supports Various Input and Output Formats: HitPaw goes beyond HEVC conversion, allowing you to convert a wide range of video and audio formats, making it a versatile tool for your video editing needs.
- High-Quality Conversion: HitPaw prioritizes maintaining the original quality of your videos during conversion.
- Batch Conversion: Save time by converting multiple HEVC video files at once, which is ideal for processing large video collections.
- Fast Conversion Speeds: HitPaw's advanced processing technology ensures efficient conversion without compromising quality.
- User-Friendly Interface: HitPaw boasts a clean and intuitive interface, making it easy for users of all technical backgrounds to convert their HEVC videos.
Here's a step-by-step guide on how to use:
1. Download and install HitPaw Univd:Head over to the HitPaw website and download the software compatible with your operating system (Windows or Mac). Follow the on-screen instructions for a quick and easy installation.
2. Launch HitPaw Univd:Once installed, launch the HitPaw Univd application.
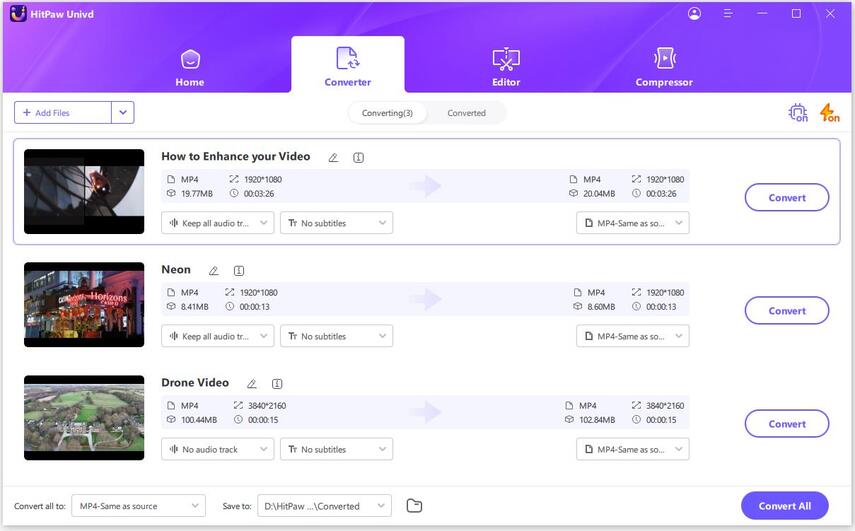
3. Add HEVC Video Files:Click the "Add Files" button and browse your computer to select the HEVC video files you want to convert. You can also drag and drop the files directly into the HitPaw interface.

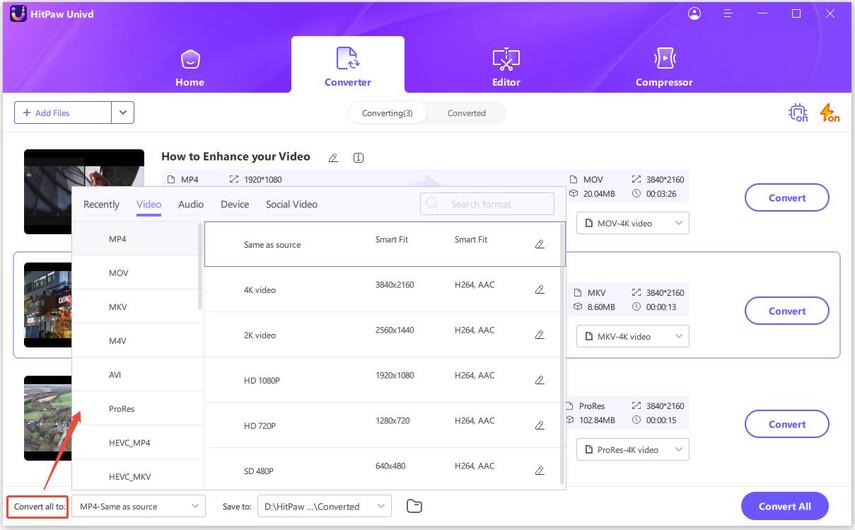
4. Choose Output Format:HitPaw offers a wide range of output format options. To ensure compatibility with Premiere Pro, choose a format like MP4 (H.264) or MOV (H.264).

5. Optional:Adjust Settings (For Advanced Users): HitPaw allows you to customize various settings for your converted video, such as bitrate, resolution, and frame rate. However, the default settings are optimized for most editing workflows.
6. Convert HEVC Video:Click the "Convert" button to begin the conversion process. HitPaw utilizes advanced video processing technology to ensure fast and efficient conversion while maintaining excellent quality.
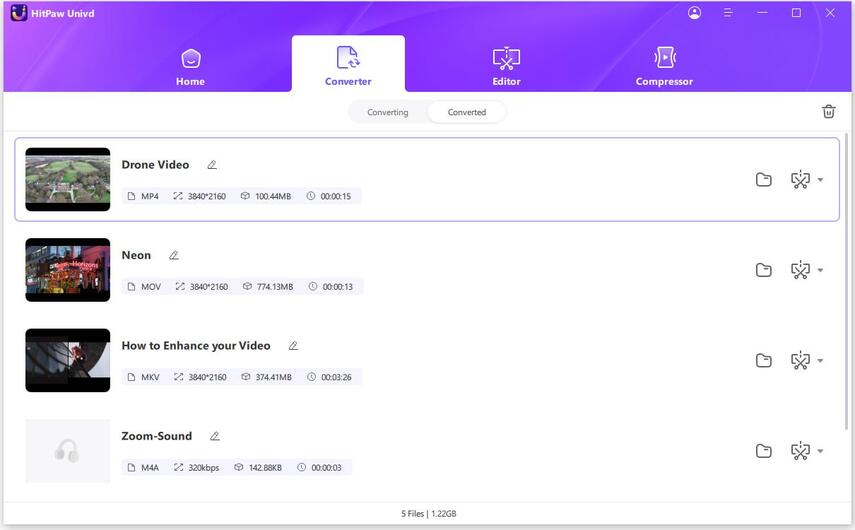
7. Access Converted Videos:Once converted, your videos will be saved in the designated output folder you specified during installation. You can now import these converted files into Premiere Pro for editing.

Watch the following video to learn more details:
Part 3: How to Edit and Export HEVC Codec Video for Premiere Pro
Editing Converted Video:
Once you've successfully converted your HEVC video files to a Premiere Pro-supported format using HitPaw Univd, you can import them into your editing project. Here's a general workflow:
- 1. Launch Premiere Pro:Open Adobe Premiere Pro on your computer.
- 2. Create a New Project or Open Existing Project:You can either create a new project for your edited HEVC footage or import the converted video files into an existing project.
- 3. Import Converted Video:Go to "File" > "Import" or use the keyboard shortcut "Ctrl+I" (Windows) or "Command+I" (Mac) to browse and select the converted HEVC video files you want to import.
- 4. Edit as Usual:Premiere Pro will now recognize and import the converted video files. You can edit them just like any other video file in your project timeline, using Premiere Pro's extensive editing tools and effects.
Exporting HEVC Codec Video (Optional):
While Premiere Pro might not allow direct editing of HEVC footage, there are workarounds for exporting your edited project in HEVC format if needed. However, it's important to note that this might require additional steps or limitations depending on your Premiere Pro version and desired output specifications. It's generally recommended to stick with established editing formats within Premiere Pro and use HitPaw Univd for HEVC conversion after editing is complete.
Here are some resources for reference on exporting HEVC from Premiere Pro (consult documentation for your specific version):
- Use a third-party export plugin that supports HEVC encoding.
- Export in a compatible format like H.264 and then use HitPaw Univd to convert the final edited video to HEVC.
Conclusion
HEVC video offers significant advantages in terms of file size and image quality. However, its compatibility with editing software like Premiere Pro can be a hurdle. This guide has provided a comprehensive solution for processing HEVC video for seamless editing in Premiere Pro.
By utilizing HitPaw Univd's efficient and user-friendly HEVC conversion capabilities, you can effortlessly convert your HEVC footage to compatible formats, allowing you to leverage Premiere Pro's powerful editing tools for your HEVC video projects.



 HitPaw Edimakor
 HitPaw VikPea (Video Enhancer)


Share this article:
Select the product rating:
Joshua Hill
Editor-in-Chief
I have been working as a freelancer for more than five years. It always impresses me when I find new things and the latest knowledge. I think life is boundless but I know no bounds.
View all ArticlesLeave a Comment
Create your review for HitPaw articles