Detailed Guide on Using Photoshop Reduce Noise
Unwanted noise can significantly impact the quality of your photos. This grainy appearance, often referred to as digital noise, can detract from the clarity and detail of your image. Thankfully, Adobe Photoshop provides powerful tools to help you reduce noise in Photoshop, resulting in cleaner and sharper photos.
This comprehensive guide will delve into the world of digital noise reduction using Photoshop. We'll explore the different types of noise commonly encountered in photos, followed by detailed step-by-step instructions on utilizing Photoshop's "Reduce Noise" filter to tackle both Color Noise and Luminance Noise. Additionally, we'll explore a bonus tip for removing background noise from videos using an alternative tool.
Part 1: Why We Need to Reduce Noise in Photos
Digital noise can manifest in your photos in two primary forms: Color Noise and Luminance Noise.
- Color Noise: Appears as random colored pixels scattered throughout your image, often mistaken for film grain. It's more prominent in photos taken in low-light conditions with high ISO settings.
- Luminance Noise: Results in a grainy, speckled appearance that reduces the overall image clarity. Luminance noise can also be caused by using high ISO settings or pushing your camera's sensor to its limits.
Reducing noise in Photoshop helps eliminate these unwanted artifacts, resulting in cleaner and more professional-looking photos.
Part 2: How to Reduce Noise in Photoshop: Color Noise
Let's dive into the process of reducing noise in Photoshop, starting with Color Noise. Here's a step-by-step guide:
-
1. Open your photo in Photoshop. Navigate to "File" > "Open" and select the image you want to work on.
-
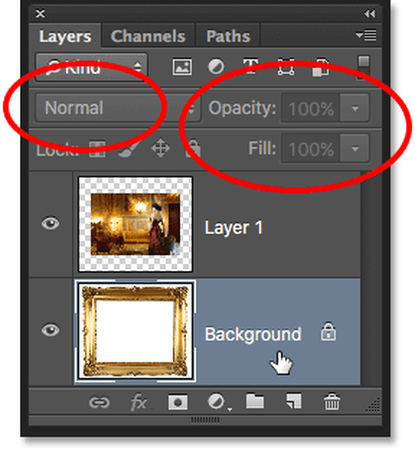
2. Duplicate the background layer. This is a good practice to preserve the original image in case you need to revert to it later. In the Layers panel, right-click on the "Background" layer and select "Duplicate Layer." You can rename the duplicate layer for better organization.

-
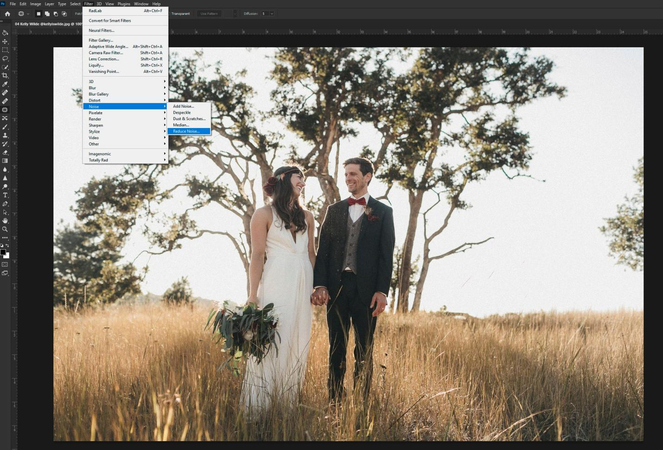
3. Access the "Reduce Noise" filter. Go to "Filter" > "Noise" > "Reduce Noise." This opens the "Reduce Noise" dialog box.

Photoshop Menu Bar with Filter, Noise, Reduce Noise Selected
-
1. Target Color Noise. Ensure the "Reduce Color Noise" checkbox is selected. This activates the color noise reduction controls.
-
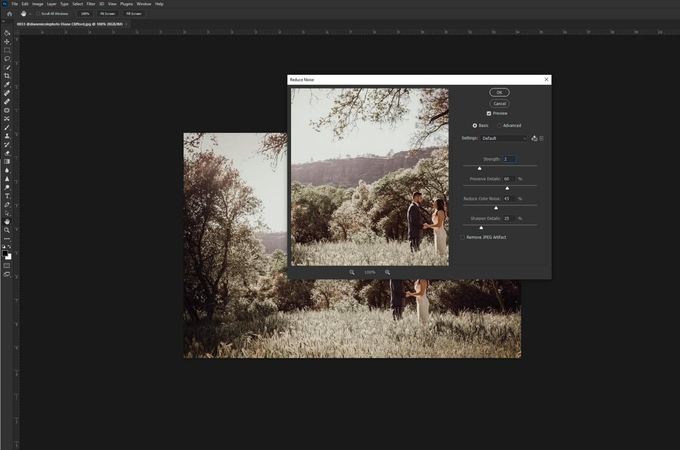
2. >Adjust the "Strength" slider. This slider controls the overall amount of color noise reduction applied. Drag the slider to the right to reduce color noise, but be mindful not to overdo it, as it can blur details. Start with a low value and gradually increase it while previewing the changes in the image window.

-
3. Refine with "Detail" and "Preserve Details." The "Detail" slider allows you to target specific color noise patterns. Dragging it to the right reduces noise in smoother areas, while the "Preserve Details" slider helps retain fine details in your image, like textures or hair. Adjust these sliders subtly while monitoring the preview to achieve the desired balance.
-
4. Preview and Apply. The preview window in the "Reduce Noise" dialog box allows you to see the effects of your adjustments in real time. Once you're satisfied with the noise reduction, click "OK" to apply the changes to your image.
Part 3: How to Reduce Noise in Photoshop: Luminance Noise
Now that you've tackled Color Noise let's address Luminance Noise using a similar approach:
- 1. Follow steps 1 and 2 from Part 2 to open your photo and duplicate the background layer.
- 2. Access the "Reduce Noise" filter. Navigate to "Filter" > "Noise" > "Reduce Noise."
- 3. Target Luminance Noise. This time, ensure only the "Reduce Noise" checkbox is selected. This deactivates color noise reduction and focuses on luminance noise.
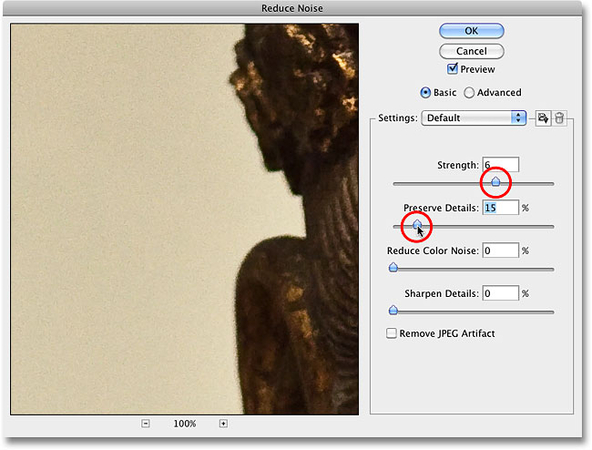
- 1. Adjust the "Strength" slider. Similar to color noise reduction, the "Strength" slider is used to control the amount of luminance noise reduction. Start with a low value and gradually increase it while previewing the changes to avoid blurring details.
- 2. Refine with "Reduce Color Noise" and "Preserve Details" (optional). While the focus is on Luminance Noise, in some cases, slightly reducing Color Noise alongside Luminance Noise can yield a more balanced result. Experiment with the "Reduce Color Noise" slider cautiously, keeping the value low to avoid introducing unwanted color shifts. The "Preserve Details" slider remains valuable here as well, helping retain sharpness in areas with fine textures.
- 3. Sharpening (optional). Reducing noise in Photoshop can sometimes soften the image slightly. To compensate, you can explore sharpening techniques like the "Unsharp Mask" filter (Filter > Sharpen > Unsharp Mask). Apply subtle sharpening adjustments to restore image crispness without introducing halos.
- 4. Preview and Apply. Carefully evaluate the noise reduction in the preview window. Once you're happy with the results, click "OK" to apply the changes.
Part 4: Bonus Tip on Removing Background Noise
While Photoshop excels at image noise reduction, for background noise, specifically in videos, consider exploring alternative tools like HitPaw Univd (HitPaw Video Converter).
This versatile software offers a user-friendly interface and features like:- Background Noise Removal: HitPaw Univd effectively eliminates unwanted background noise from your videos, resulting in clearer audio.
- Video Editing: Beyond noise reduction, HitPaw Univd allows basic video editing functions like trimming unwanted sections, adding watermarks, or adjusting video settings.
- Backup Videos: This software ensures you don't lose your original video by creating a backup copy before applying any noise reduction or editing.
Here's a brief overview of removing background noise using HitPaw Univd:
-
1. Download and install the HitPaw Univd on your Windows or Mac computer.
-
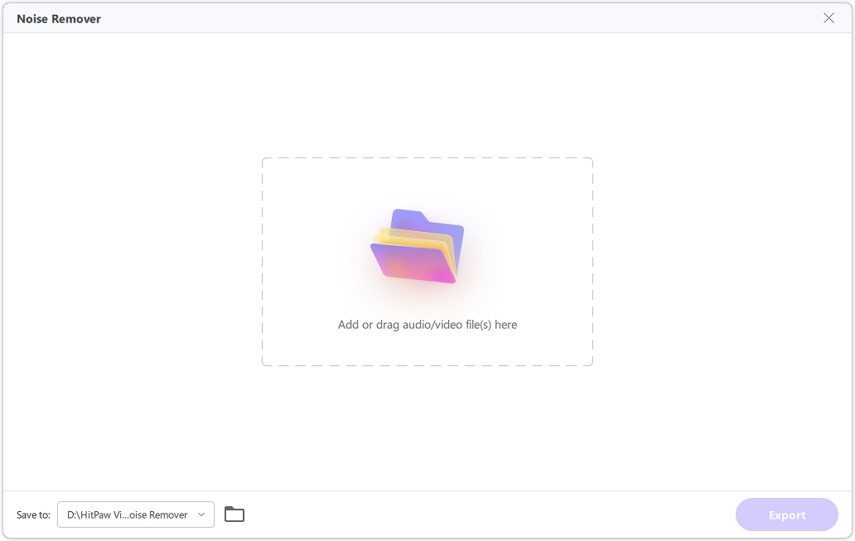
2. Launch the application and select the "Tool Box" module.

-
3. Click "Add File" and browse your computer to select the video file with background noise.

-
4. Access Noise Reduction settings. Locate the "Noise Reduction" option within the settings menu (refer to HitPaw's guide for specific instructions based on the software version).

-
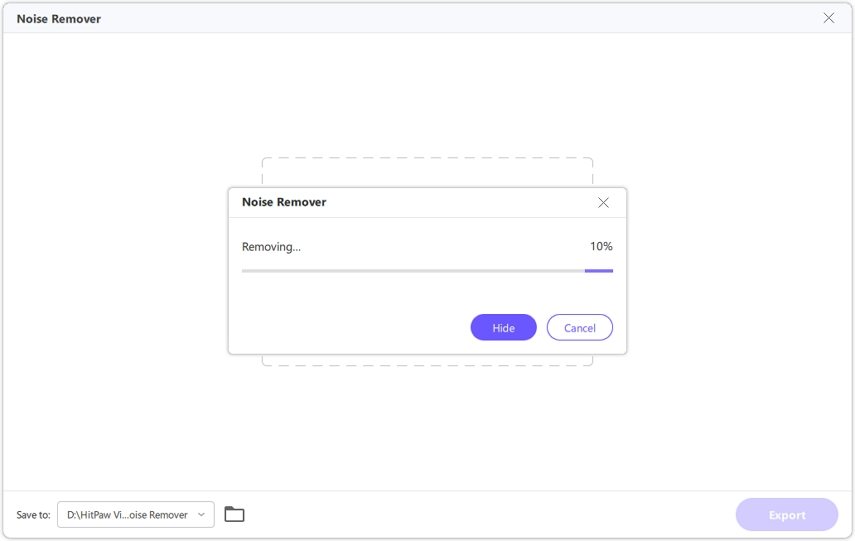
5. Adjust Noise Reduction level. Use the provided slider to control the intensity of background noise reduction. Preview the changes in the built-in player to achieve the desired level of noise reduction.
-
6. Save the video. Once you're satisfied with the noise reduction preview, click the "Export" button to process the video.

Watch the following video to learn more details:
Conclusion
Reducing noise in Photoshop offers a powerful way to enhance the quality of your photos. By following the step-by-step guides provided for Color Noise and Luminance Noise reduction, you can eliminate unwanted grain and achieve cleaner, more professional-looking images.
For background noise, specifically in videos, consider exploring tools like HitPaw Univd, which provides a user-friendly solution for noise removal alongside video editing capabilities.





 HitPaw Edimakor
 HitPaw VikPea (Video Enhancer)


Share this article:
Select the product rating:
Joshua Hill
Editor-in-Chief
I have been working as a freelancer for more than five years. It always impresses me when I find new things and the latest knowledge. I think life is boundless but I know no bounds.
View all ArticlesLeave a Comment
Create your review for HitPaw articles